1.使用 opkg 命令更新
opkg update
opkg upgrade luci
opkg list-upgradable | grep luci- | cut -f 1 -d ' ' | xargs opkg upgrade
在ssh下,先“opkg update”,获取更新。之后再更新“ luci-” 开头的包。如果 要全部无条件更新,就去掉过滤“ grep luci- |”
2 使用 opkg-upgrade.sh 更新(推荐)
https://github.com/tavinus/opkg-upgrade
使用sh脚本更新,需要 curl 或 wget,使用Https链接的话,还需要SSL支持。
注意:curl / wget 可能会因为缺少 SSL 证书而失败。
您可以使用以下命令选择忽略证书检查:

curl -k
wget --no-check-certificate

或者,您将需要修复您的安装。
请注意,SSL支持会占用相当多的存储空间。/etc/ssl/certs/ca-certificates.crt

#这应该足以使SSL工作:

opkg install ca-certificates openssl-util

#如果您仍有问题,这可能是一种解决方法:

mkdir -p -m0755 /etc/ssl/certs && curl -k -o /etc/ssl/certs/ca-certificates.crt -L http://curl.haxx.se/ca/cacert.pem- 安装到当前目录,使用
./opkg-upgrade.sh执行:
# 根据使用 wget 或 curl ,是否SSL,选择对应命令执行。

# using wget with SSL
wget 'https://raw.githubusercontent.com/tavinus/opkg-upgrade/master/opkg-upgrade.sh' -O "opkg-upgrade.sh" && chmod 755 "opkg-upgrade.sh"

# using wget WITHOUT SSL
wget --no-check-certificate 'https://raw.githubusercontent.com/tavinus/opkg-upgrade/master/opkg-upgrade.sh' -O "opkg-upgrade.sh" && chmod 755 "opkg-upgrade.sh"

# using curl with SSL
curl -L 'https://raw.githubusercontent.com/tavinus/opkg-upgrade/master/opkg-upgrade.sh' -o "opkg-upgrade.sh" && chmod 755 "opkg-upgrade.sh"

# using curl WITHOUT SSL
curl -k -L 'https://raw.githubusercontent.com/tavinus/opkg-upgrade/master/opkg-upgrade.sh' -o "opkg-upgrade.sh" && chmod 755 "opkg-upgrade.sh"
# 执行更新
./opkg-upgrade.sh- (推荐)安装到系统(无需.sh扩展):
/usr/sbin/opkg-upgrade
# 根据使用 wget 或 curl ,是否SSL,选择对应命令执行。

# using wget with SSL
wget 'https://raw.githubusercontent.com/tavinus/opkg-upgrade/master/opkg-upgrade.sh' -O "/usr/sbin/opkg-upgrade" && chmod 755 "/usr/sbin/opkg-upgrade"

# using wget WITHOUT SSL
wget --no-check-certificate 'https://raw.githubusercontent.com/tavinus/opkg-upgrade/master/opkg-upgrade.sh' -O "/usr/sbin/opkg-upgrade" && chmod 755 "/usr/sbin/opkg-upgrade"

# using curl with SSL
curl -L 'https://raw.githubusercontent.com/tavinus/opkg-upgrade/master/opkg-upgrade.sh' -o "/usr/sbin/opkg-upgrade" && chmod 755 "/usr/sbin/opkg-upgrade"

# using curl WITHOUT SSL
curl -k -L 'https://raw.githubusercontent.com/tavinus/opkg-upgrade/master/opkg-upgrade.sh' -o "/usr/sbin/opkg-upgrade" && chmod 755 "/usr/sbin/opkg-upgrade"
# 执行更新
opkg-upgrade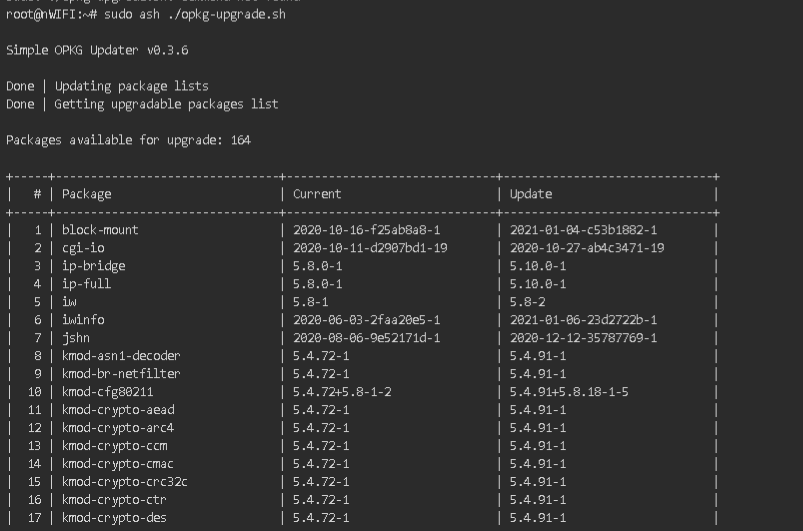
将更新命令加入自定义菜单
可以先安装 luci-app-commands
opkg install luci-app-commands安装后,就可在luci的系统菜单中
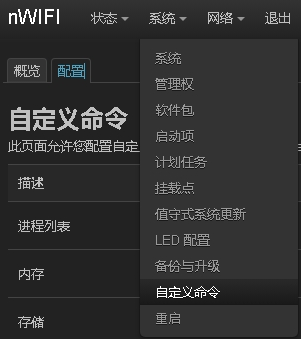
使用自定义命令进行更新,一键就直接执行,更方便!如下图
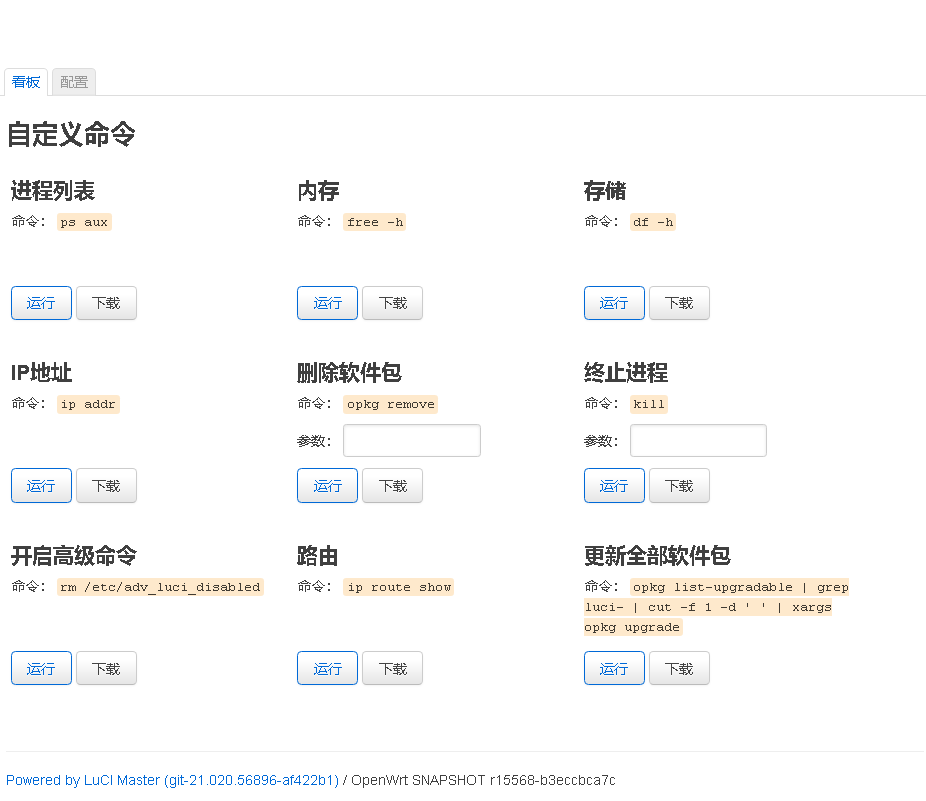
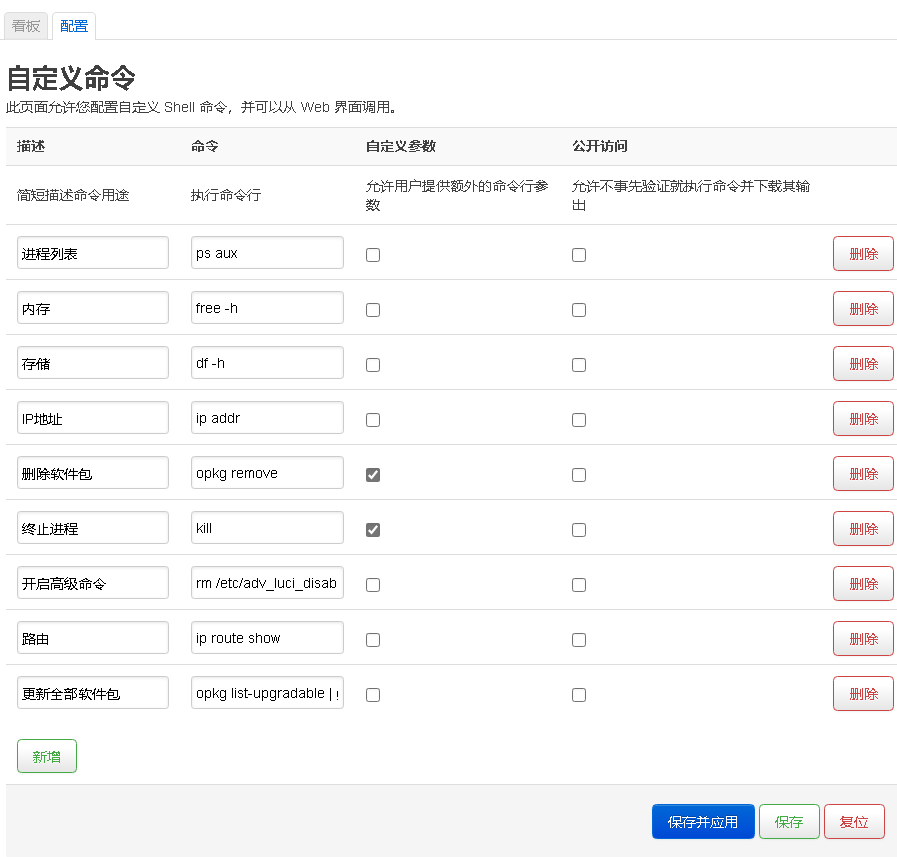
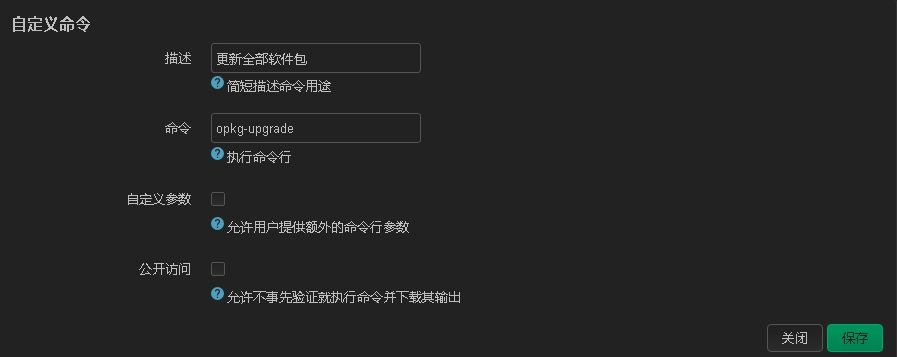
这样就可以在 luci 界面,使用opkg-upgrade一键更新所有软件包了!


